In today’s article we will deploy Ollama and Open WebUI to create our own offline chatbot that can use a variety of large language models. Instructions provided are specific to Debian-based Linux systems with the APT package management, but similar steps can be applied to installations on other Linux kernels as well as Windows.
Components
Ollama
Ollama is open-source software that allows you to interact with large language models (LLM) directly from your the host or server that it is installed on. This prevents third-parties from using your inputs and responses to train their model, maintaining your privacy. Ollama does this by downloading the large language model file (e.g., .ggml, .gguf, .gptq, .awq, etc..) to the local host and will interact with that model file directly.
Ollama provides a simple API for creating, running, and managing large language models. It also supports a number of pre-built models by default. For a full list of models that Ollama supports, visit ollama.com/search.
Open WebUI
Open WebUI is another piece of open-source software that is an extensible, feature-rich, and user-friendly platform for hosting an A.I. chatbot entirely offline.
Open WebUI provides a user interface that we’ll use to interact with the Ollama API. Open WebUI will allow us to add additional large language models to Ollama, integrate with other services such as RAG, granularly manage user accounts, and switch between models with ease.
Docker
Docker is a platform to develop, ship, and run applications quickly and securely. Applications run in loosely isolated environment called a container. This isolation allows multiple containers to run simultaneously. Containers are lightweight, contain everything that is needed to run the application, and don’t rely on anything installed on the host. We’ll actually be using a component of Docker called Docker Compose.
Install Docker Compose
Firstly, install Docker and Docker Compose. The docker engine will host the Ollama and Open WebUI instances. It’s also a good idea to update your system before installing new software.
sudo apt update && sudo apt upgrade
sudo apt install docker-compose
Once complete, verify that docker-compose has been installed by running the following bash command to check the version.
sudo docker-compose --versionCreate Docker-Compose File
Next, create a docker-compose.yaml file. Docker will use this as instructions for deploying the necessary containers.
sudo mkdir /opt/llm
sudo nano /opt/llm/docker-compose.yaml
Note: The format of YAML files is important. For instance, if you use tabs instead of spaces, you'll run into problems.
version: '3'

services:
  ollama:
    image: ollama/ollama:latest
    container_name: ollama
    ports:
      - "11434:11434"
    volumes:
      - ./ollama_data:/root/.ollama
    restart: unless-stopped
    networks:
      - llm-net

  open-webui:
    image: ghcr.io/open-webui/open-webui:latest
    container_name: open-webui
    ports:
      - "3000:8080"
    environment:
      - OLLAMA_BASE_URL=http://ollama:11434
    depends_on:
      - ollama
    volumes:
      - ./openwebui_data:/app/backend/data
    restart: unless-stopped
    networks:
      - llm-net

volumes:
  ollama_data:
  openwebui_data:

networks:
  llm-net:
    driver: bridge
Note: This example uses host CPU for processing to maximum compatibility for readers. An example using GPU for processing can be found on GitHub.
Ollama Container
ollama: The first line beneathservicesis the name of the service. This name can be referenced in other services.image: This is the docker image that will be used in the deployment of the Ollama docker container.container_name: Sets the name of the container which can be referenced when using the docker command line.ports: Ollama exposes its API on port 11434, so we need to make sure that we expose that port to our local host.volumes: Using the format oflocal_directory:remote_docker_directorywe configure data persistence by storing the relevant data files on our local host. This ensures that certain data will not reset between docker container stops and starts.restart: Tell docker that it should always restart this containerunless-stoppedmanually.networks: Tell docker that this container should exist in the virtual network specified.
Open-WebUI Container
open-webui: Gives the name of the Open WebUI service.image: This is the docker image used in the deployment of the Open WebUI docker container.container_name: Sets the name of the container which can be referenced when using the docker command line.ports: Open WebUI runs on port 8080 in the docker container. We map port 3000 on the localhost with port 8080 on the container.environment: The Open WebUI container can be configured with a number of environment variables to configure the installation. Most important, we set the Ollama base URL.depends_on: This tells docker that the Open WebUI container depends on the Ollama container before it can start.volumes: Using the format oflocal_directory:remote_docker_directorywe configure data persistence by storing the relevant data files on our local host. This ensures that certain data will not reset between docker container stops and starts.restart: Tell docker that it should always restart this containerunless-stoppedmanually.networks: Tell docker that this container should exist in the virtual network specified.
Volumes
ollama_data: Maps./ollama_data/on the local host to/root/.ollama/on the docker container. Without this Ollama data would reset when the container is stopped.openwebui_data: Maps./openwebui_data/on the local host to/app/backend/data/on the docker container. Without this Open WebUI data would reset when the container is stopped.
Networks
llm-net: Docker containers do not, by default, have the ability to communicate with each other. To correct his, we initiate a virtual network.driver: The network driver tells Docker how the virtual network should operate. Thebridgedriver allows containers on the same network bridge to communicate with each other, while preventing communication from containers outside of that virtual network.
Launch Ollama and Open WebUI Containers
Using the docker-compose.yaml that we just created, use the docker-compose command to launch the Ollama and Open WebUI containers. Docker will map the volumes that are configured in the docker-compose.yaml, and will also create the llm-net virtual network.
cd /opt/llm
sudo docker-compose up -d
Note: The-doption tells docker to run the command detached from the current command line session. In other words, this brings the docker container(s) up in the background and once up the command line is able to accept new commands. You can exclude the-doption if one or both containers do not successfully start.
Note: docker-compose automatically looks for a 'docker-compose.yml' or 'docker-compose.yaml' file. Define the file manually if using a different naming convention. (e.g., sudo docker-compose -f docker-compose.dev.yaml up -d)
When docker-compose up is executed Docker starts by downloading the image specified in the compose file. This may take a few minutes, but only needs to be done the first time or when an image is updated. Once downloaded the containers for ollama and open-webui are created.

Use the ps option of the docker command to see if the containers have started. It provides the same output as sudo docker container ls.
sudo docker ps
Accessing Open WebUI
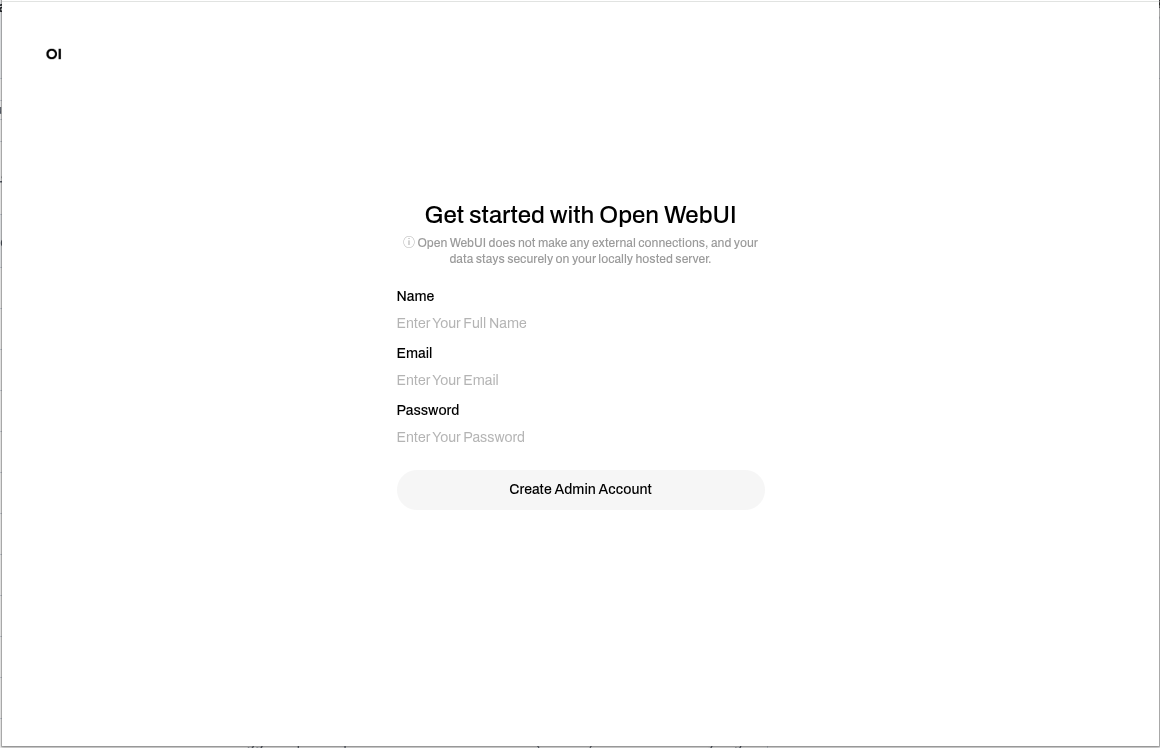
Now that the containers have started, Open WebUI can be accessed by going to http://localhost:3030 in a web browser. The first time that you access Open WebUI it will prompt you to create an administrator account.

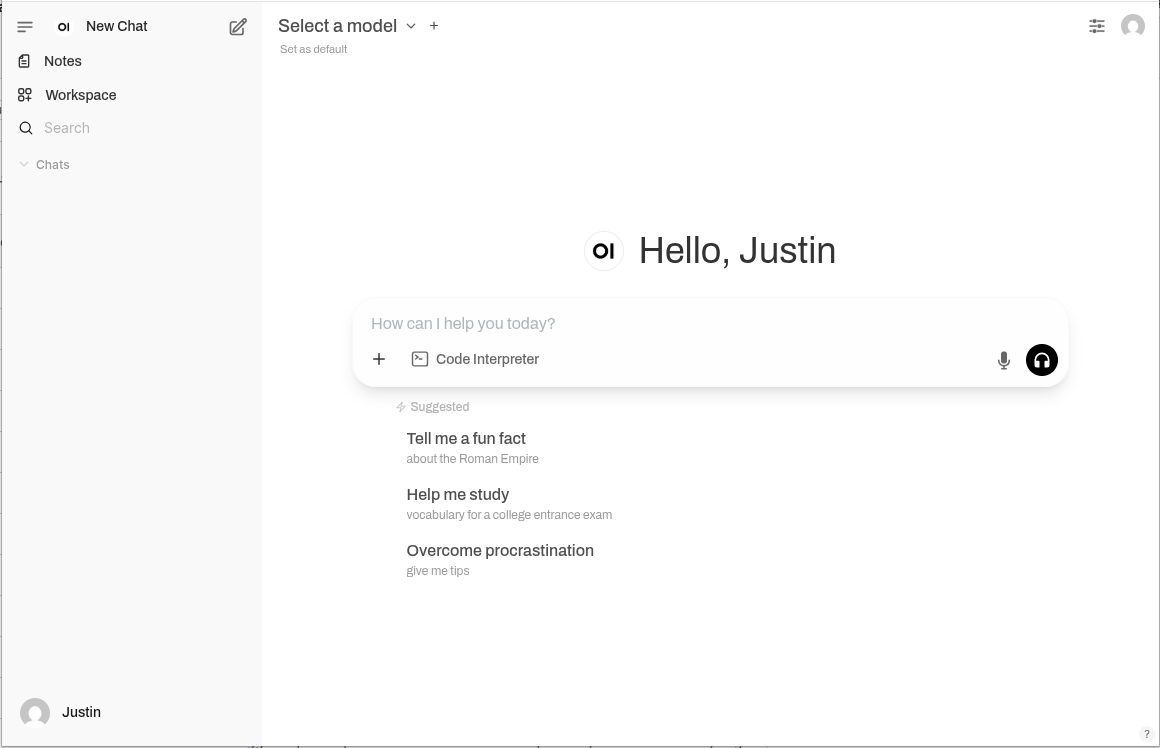
Congratulations! Open WebUI is up and running.
Verify Connection to Ollama
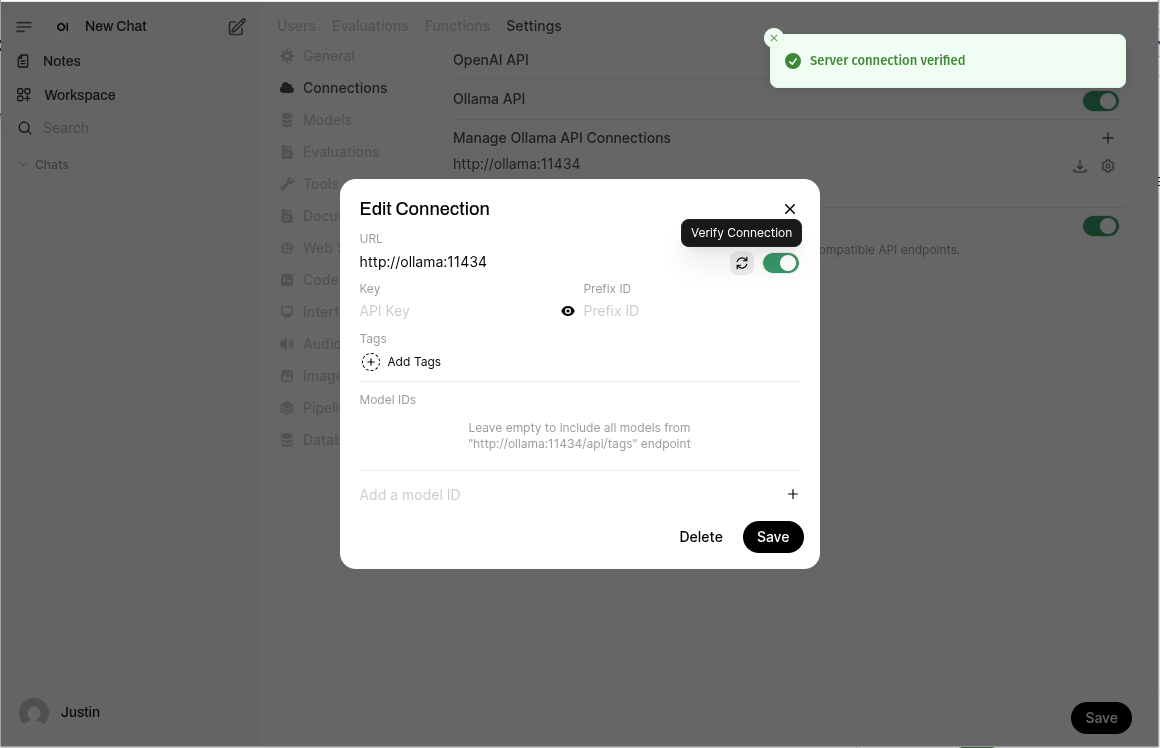
To verify that Open WebUI can communicate with Ollama we need to navigate to ‘Connections’ in the ‘Admin Panel’. Access the ‘Admin Panel’ by clicking on your profile picture at the top left, or bottom right. Select ‘Admin Panel’. Choose ‘Settings’ from the top. Finally, select ‘Connections’ from the menu.
Under ‘Manage Ollama API Connections’ click the gear to ‘Configure Ollama’. From the pop-up click to ‘Verify Connection’. A ‘server connection verified’ notification will appear if successful.
Downloading Models
We’ll use Open WebUI to instruct Ollama to download a large language model from the models library. Open WebUI provides more than one way to download models. Let’s take a look.
Note: Ollama only supports a subset of large language models. Luckily, that subset of models includes all of the most popular models including gemma, phi, llama, deepseek, and mistral. The complete list of supported models is available at ollama.com/models.
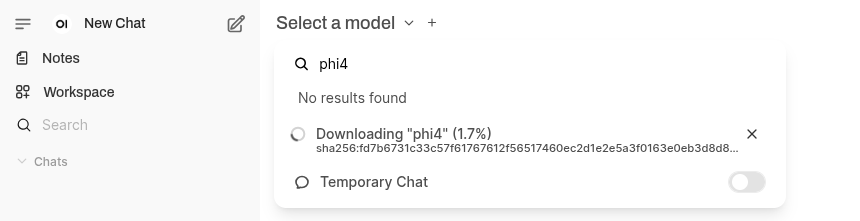
From the Model Selection Dropdown
You can conveniently download models directly from the model selection dropdown.
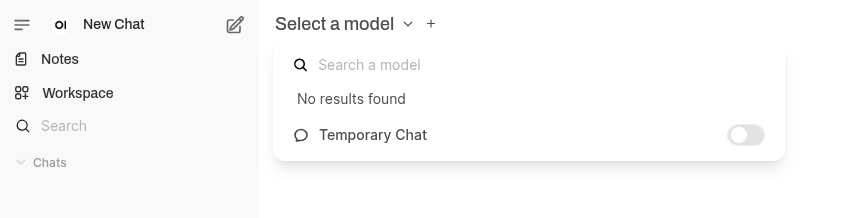
Simply enter the name of the model and click ‘Pull “<model>” from Ollama.com’. The model should start downloading immediately.
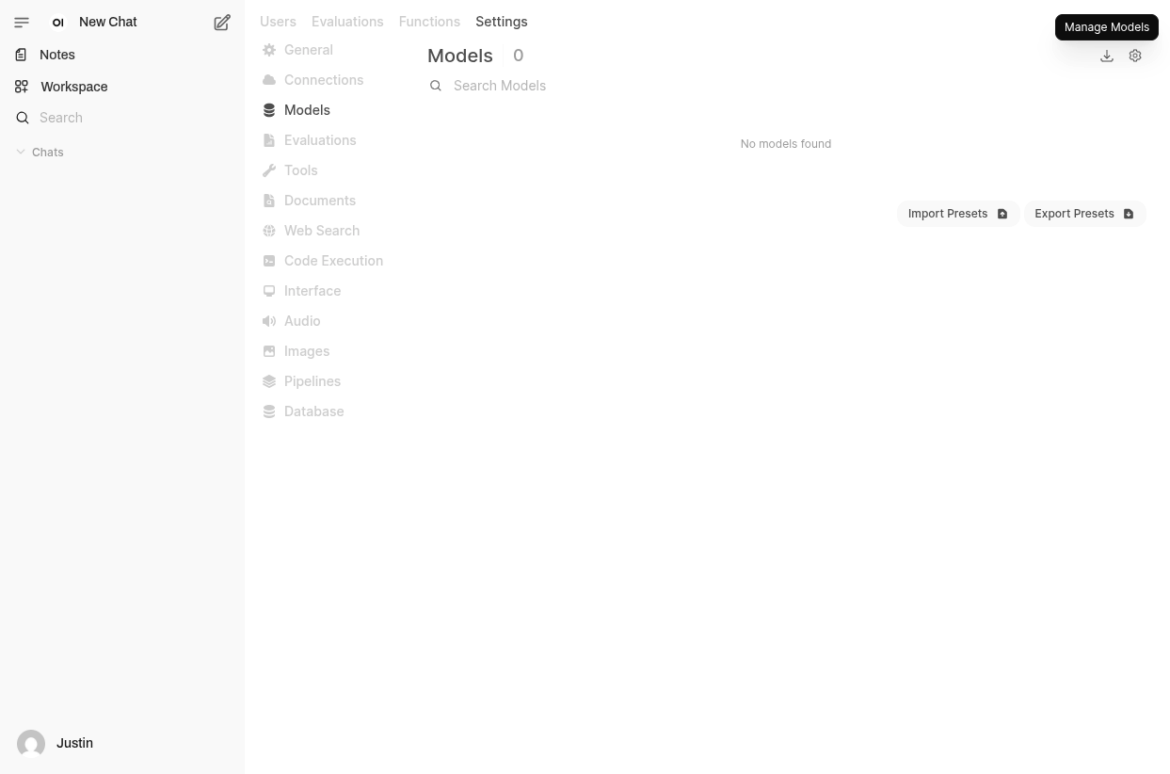
From the Admin Panel
Alternatively, you can download and manage Models from the Admin Panel. Navigate to ‘Settings’ in the Admin Panel. Select ‘Models’ from the menu. At the top of the ‘Models’ page click on the ‘Manage Models’ icon.
Similar to the model selection dropdown, enter the name of the model and hit ‘Enter’ to start the download.
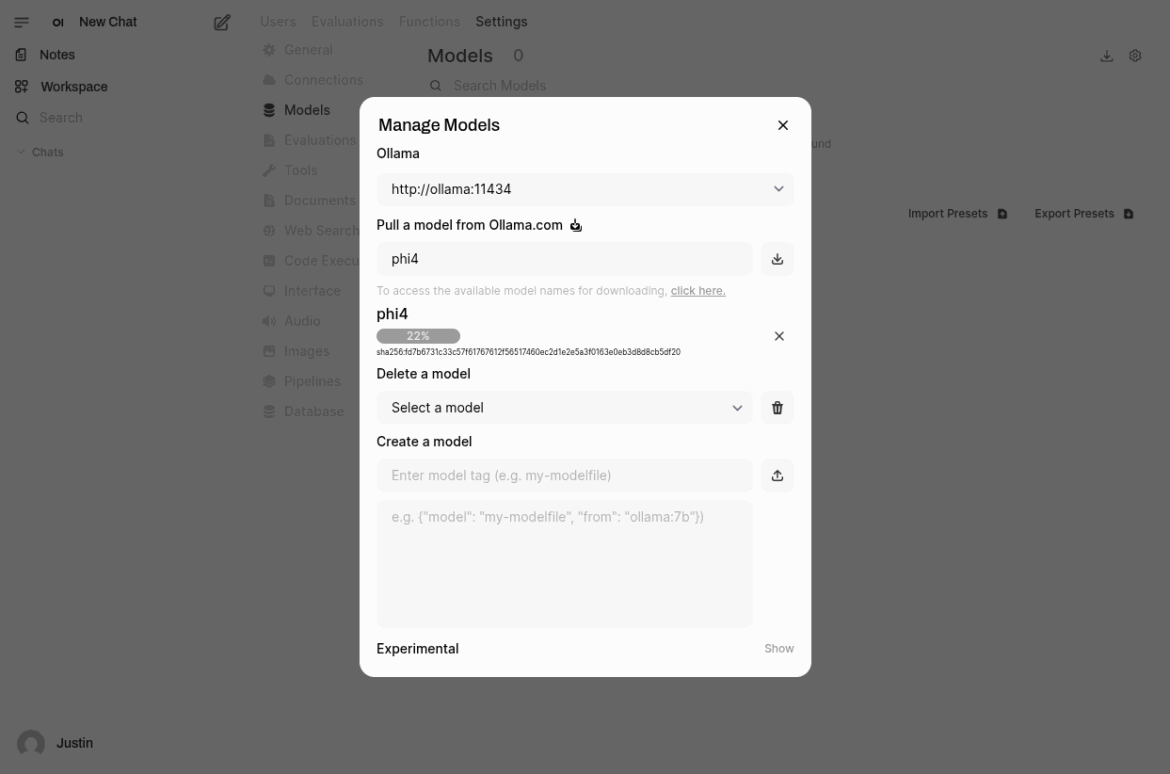
The ‘Manage Models’ panel also allows you to delete models and create new models. The ‘Experimental‘ section allows you to upload your own model file.
Conclusion
Once the model completes downloading, start a ‘New Chat’, select the model from the model selection list, and enjoy your own personal, offline, chatbot! The speed of processing will very heavily depend on the specifications of your computer and whether or not you are using GPU-processing or CPU-processing.
There are many features in Open WebUI that are worth discovering at https://docs.openwebui.com. I’d recommend starting with the Open WebUI RAG Tutorial.